SellersDash is the only tool you will ever need to successfully run your AliExpress and Shopify based Dropshipping Ecommerce business. SellersDash has a lot of tools built in to take care of all your daily chores and solves the major pain points that dropshippers experience on a daily basis. Here’s a quick guide to get started with SellersDash.
First off, if you haven’t already registered for an account, click here to sign up. Once you confirm your email, and get into the dashboard, the first step to do would be to connect your Shopify Store. To do so, go to Products > Imported and click on the Connect button which will take you to the app install page on Shopify. (Please note that only one Shopify store is supported per account. If you want to use multiple Shopify accounts, you can sign up again with a different email address.)
The next thing to do is to install SellersDash Chrome Extension. Click here to install it now. The Chrome extension makes it easy as pie to import products to SellersDash, place orders on AliExpress on autopilot and more. After installing the extension, go to any product page on AliExpress where you will now see a new Import button in the product area. Clicing the button will instantly import that product to SellersDash. (Make sure that you are logged into SellersDash dashboard before performing any extension related task). You can also import products from AliExpress from AliExpress search page. For instance, open this search results page for the shoe keyword in AliExpress. When you hover on any search result card, you will see an icon that will allow you to import that product to SellersDash.
After importing a product, head over to SellersDash Dashboard where under Products > Imported you can edit details for that product including Title, Description, Variant info and so on. If you want SellersDash to automatically synchronize prices between AliExpress and your Shopify Store, you can check the Sync Price checkbox. After doing so, you will be able to select a Pricing Rule for your product by clicking on the “Set Price” button for the main product price and its compare-at price. Once you are done editing details for your product, you can click on the Export to Shopify button to export it to your Shopify store.

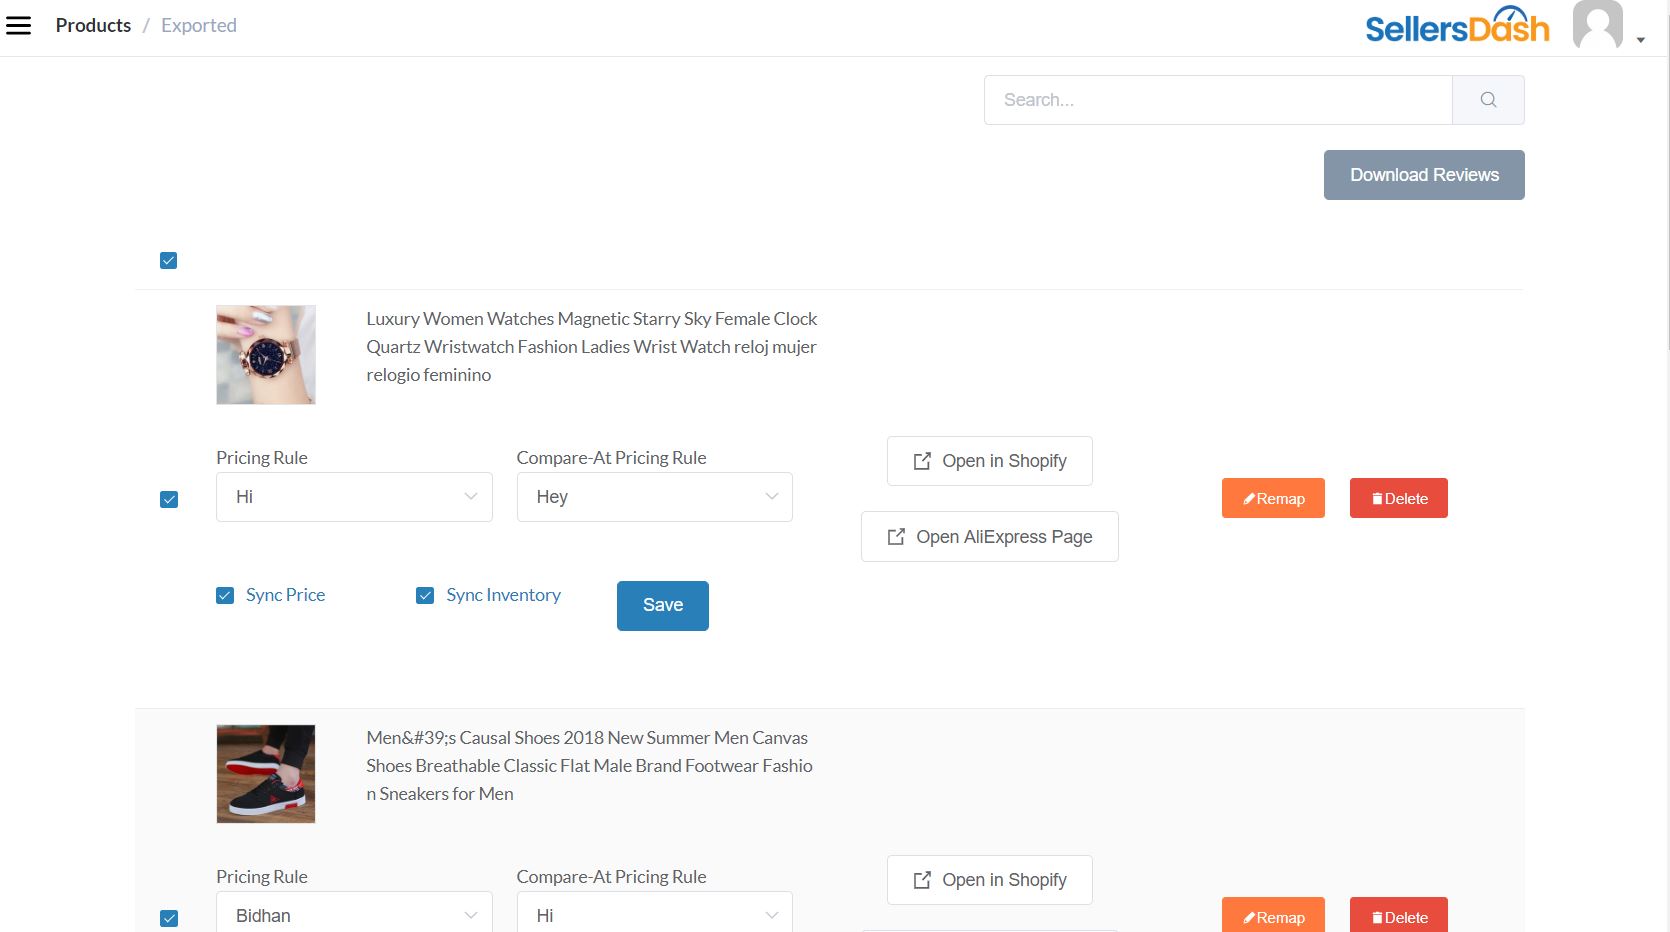
Once the product has been exported, you can find it under Products > Exported. You cannot edit many details here but can still make certain changes such as choosing a different pricing rule, toggling on or off, the Price and Inventory sync and so on.
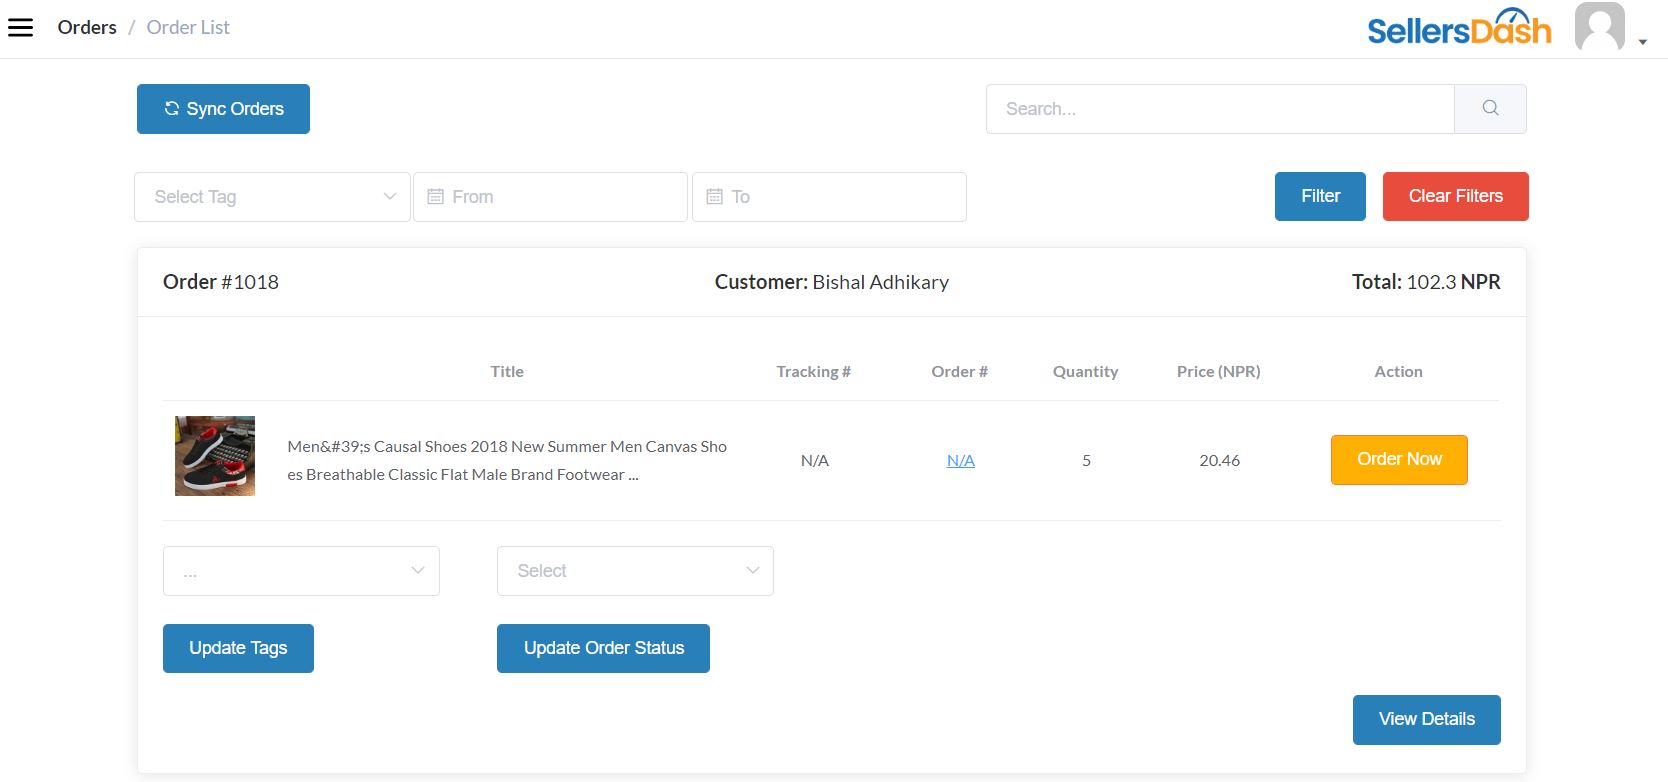
Whenever any order comes through on your Shopify store, it gets automatically syncronised with SellersDash as well. If in any case you don’t see your order, you can click on the Sync Orders button to instantly sync 100 of your most recent orders. You can then simply click on the Order Now button to place an order. Once your ordering process is completed, your AliExpress order number gets updated to SellersDash automatically. If in any case this doesn’t happen, you can manually add it to SellersDash as well. Making sure that this order number is updated is important because the SellersDash Chrome Extension uses this order number to update tracking numbers to SellersDash for the order.
Pricing Rules are one of the most important features of SellersDash. You can add multiple calculation steps to your pricing rule and apply them on a per-product basis. These pricing rules are used while automatically syncing prices from AliExpress to your Shopify store.
If you want to import product reviews for the original AliExpress product to your Shopify store, head over to Products > Exported, select the products and click on the Download Reviews button. Within a minute, the reviews will be available for download under the Downloads page.
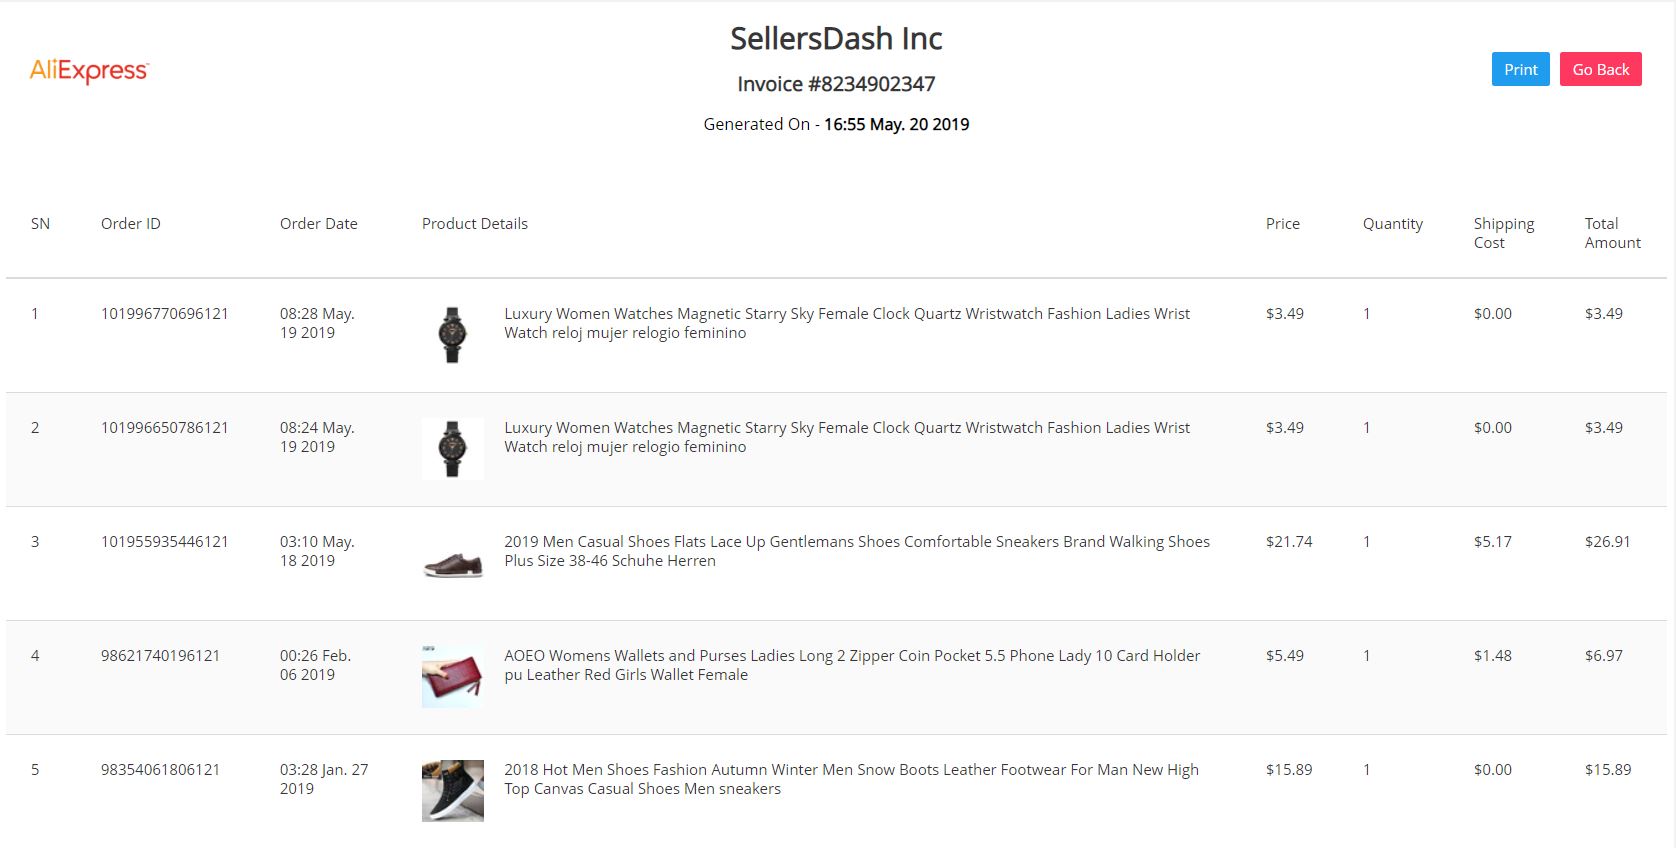
SellersDash Chrome Extension has a built in Invoice generator for your AliExpress orders. Simply head over to your AliExpress order history page, provide a company name and invoice number and click on the Generate Invoice button to generate a print-ready invoice.
You can add tags to your orders to make them easily filterable. Just go to your Orders page enter necessary tags and click on the Update Order Tags button. You can now filter your orders based on the presence or absence of these tags from the Order search bar.
The taxonomies section allows you to manage taxonomies like Tags, Types or Collections. The Collections tags get automatically syncronized with Shopify so whenever new Collections are added to your Shopify store, they will show up under Taxonomies > Collections.